25 Mistakes To Avoid With Homemade Kombucha
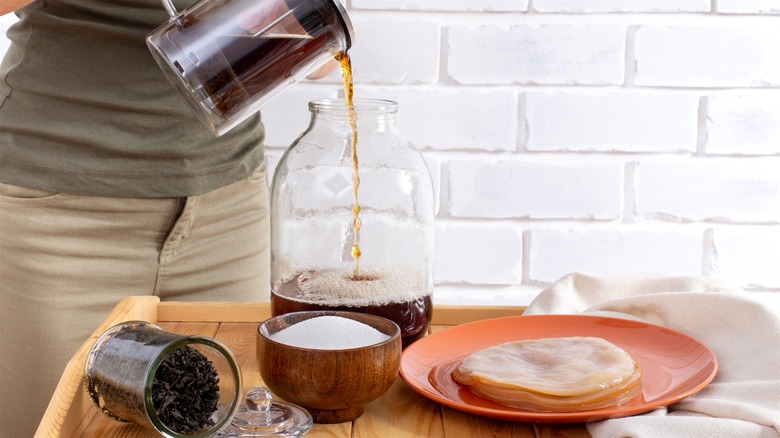
With its effervescent charm and touted health benefits, the boom of kombucha brands might tempt you to try your hand at brewing your own. Embarking on this adventure requires curiosity and a dash of science, and it might lead to a lot of rookie mistakes but fear not. It all starts with just four simple elements — tea, sugar, water, and a starter culture. The rest can be learned in the process.
Taking the plunge into homemade kombucha is not just about saving on store-bought teas or reducing waste; it's also about embracing the art of fermentation. Quality is paramount, so you'll need to choose your equipment and source materials wisely. You'll learn how to nurture your SCOBY like a beloved pet and find it the perfect cozy corner in your home for the brewing magic to unfold. Master the art of home brewing, and you can enjoy kombucha every day, sans the guilt of splurging at the store. Remember, the journey might be challenging, but with patience and dedication, you're sure to perfect your brew.
Not cleaning your supplies properly
Budding homebrewers are essentially harnessing the power of microscopic life forms to concoct a distinct, tantalizing brew — kombucha. Thanks to its acidic properties, this tangy beverage naturally wards off any unwanted intruders. However, an integral part of a successful brew is maintaining meticulous cleanliness. This includes your kitchen, utensils, and, of course, your hands.
Before you begin, opt for a deep cleanse with distilled white vinegar, followed by a thorough rinse in boiling water. Once everything's sterilized, make sure it doesn't come into contact with previously used sponges or kitchen towels. Finally, shun the temptation to use antibacterial soap in order to preserve the vitality of kombucha's culture.
Using plastic or metal bottles
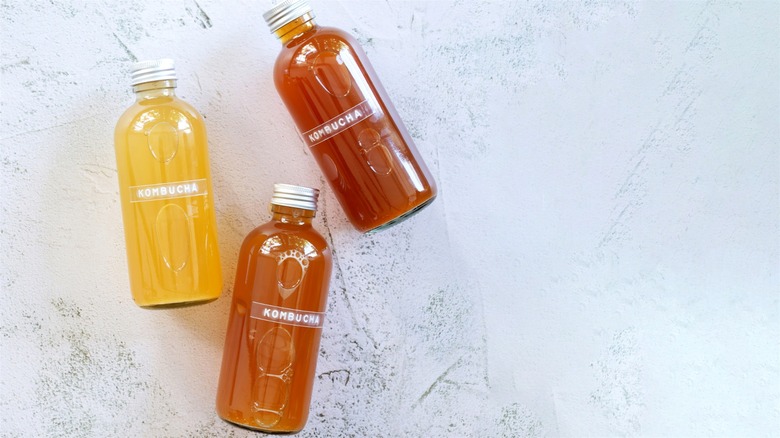
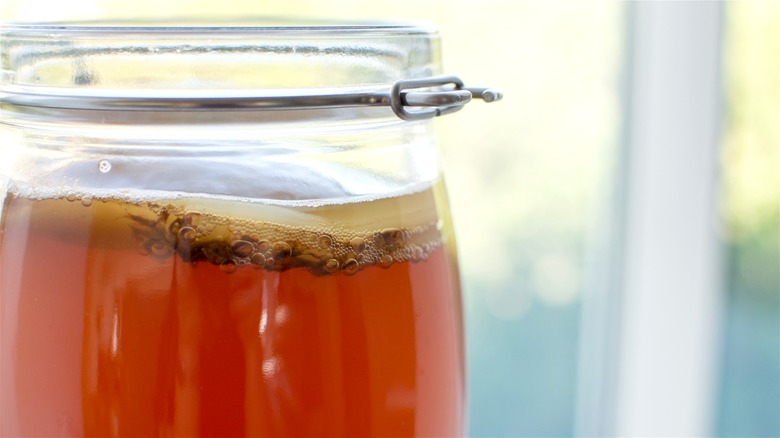
Embarking on the home-brewing journey may spark an urge to reach for the nearest Mason jar or appealing ornamental bottle, but resist this temptation. Your brew craves more than just charm; it demands a stable, nonreactive, anaerobic environment.
Opt for large glass jars and swing-topped, fermentation-grade glass bottles. These vessels are built to endure the pressures of carbonation. Mason jars lack airtight seals, decorative bottles may buckle under pressure, and plastics, metals, crystals, and non-food grade ceramics run the risk of harboring harmful bacteria or leaching toxic compounds into your brew. Stick to glass for a successful kombucha.
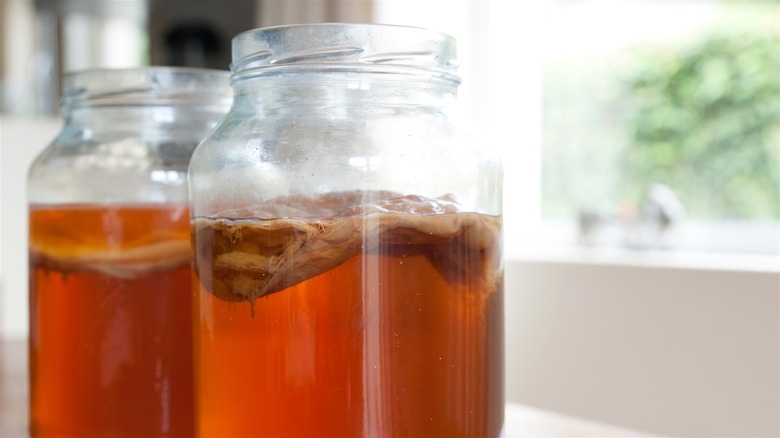
Purchasing a SCOBY
If you think you need to splurge on a starter kit to delve into the effervescent world of homemade kombucha, think again. All you need is a SCOBY, the eerily fascinating colony of bacteria and yeast. But instead of shelling out cash for one, tap into the generous community of seasoned home brewers. They often run SCOBY hotels and are more than happy to share their colonies.
Moreover, SCOBY isn't even a must-have at the outset. You can kickstart the brewing with tea, sugar, and a splash of raw, unflavored kombucha, and a SCOBY will grow as if out of thin air. Patience is key, though, as this might triple your brewing timeline.
Adding vinegar to the mix
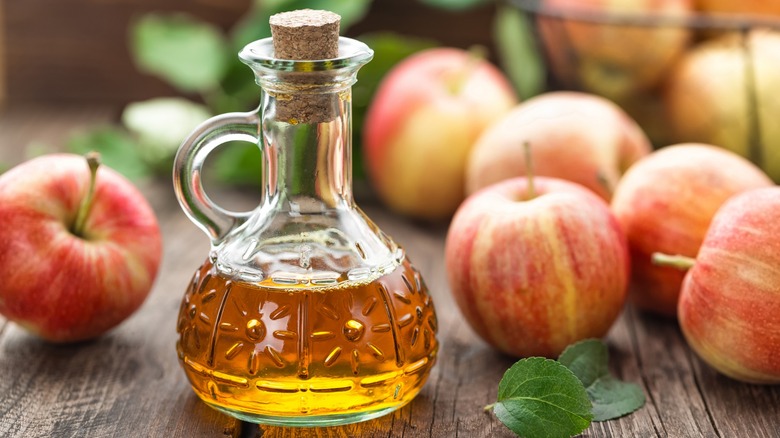
In case you didn't know, kombucha is a member of the vinegar family, but with a lower acetic acid content and its own unique combination of yeast and bacteria. Although some early recipes suggest adding vinegar to prevent bacteria growth or hasten fermentation, resist the urge. Adding vinegar to the brew, while indeed helpful with mold, only spoils the taste. Instead, use a well-fermented kombucha as your starter liquid.
However, if your brewing vessel or utensils are tainted with traces of grease or soap, a quick 'curing' with distilled white vinegar can be beneficial — but remember, it's an optional step, and only if your equipment isn't squeaky clean.
Picking the wrong starter tea

Embarking on a homemade kombucha adventure always begins with a well-made batch of tea. A common tea mistake for home kombucha brewers hoping to reduce caffeine intake is the lure of herbal teas. However, they lack the vital nutrients — caffeine, nitrogen, and theanine — that nourish the SCOBY. These nutrients are abundant in "true teas," derived from the Camellia sinensis plant, which yields the most common tea varieties, from black to pu'er.
Black, green, or oolong tea or a combination are your best bet. But that doesn't mean you shouldn't use herbal teas for kombucha at all. Just make sure a quarter of the blend includes "true tea" for the kombucha culture's well-being.
Using unfiltered tap water

Your brewing success depends on the choice of water as much as the choice of tea. If you're unwilling to splurge on bottled water, tap water can do the trick, but be wary of its chlorine and chloramine content. These invisible assassins, though great for nixing harmful microorganisms, can be equally lethal to your SCOBY's beneficial bacteria.
Fear not; the solution is simple. For chlorine, let your water bask in the sun for 24 hours or use a chlorine-removing filter. Alternatively, a 5-10-minute boil will prompt chlorine to evaporate — just remember to cool it down before use. As for the stubborn chloramine, an activated-charcoal filter or a pinch of vitamin C shall do the deed.
Starting with oversteeped tea
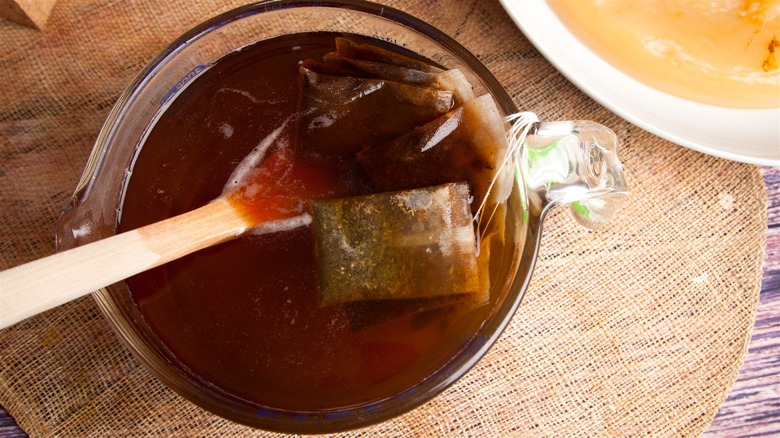
The intricate dance of kombucha brewing depends on the tea steeping tempo, among other factors. Picture this: black tea, unfurling in hot water, releasing a medley of tannins and flavors. Steep it just right, and you'll be rewarded with a rich, nuanced symphony. Oversteep, and you're in for an overpowering, acrid encore that could overwhelm your kombucha and weaken your SCOBY in the long run.
Each tea type has its unique rhythm — loose-leaf ones need only a few minutes, whereas tea bags can be steeped for half an hour or more. Look up precise timings for your tea variety to allow its complex notes to grace your brew and strengthen your SCOBY.
Pairing hot tea with SCOBY
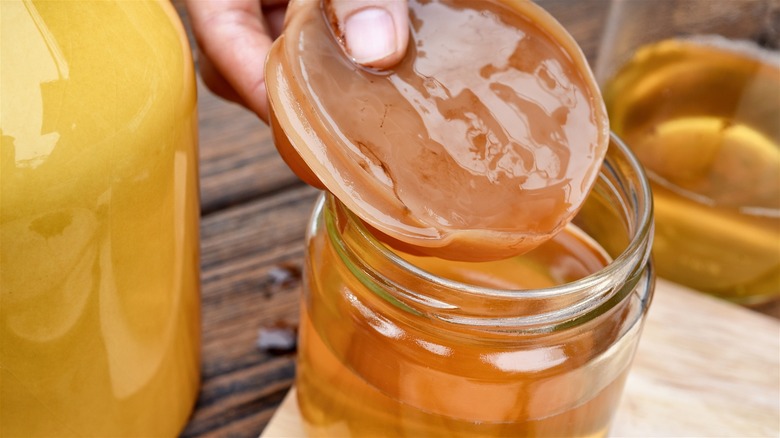
The prized jelly-like substance in a healthy kombucha jar is a delicate yet unassuming organism. Unlike sourdough starter that needs to be fed manually, SCOBY will just happily float in well-brewed sweet tea and do its thing. Unless that is, you rush things and accidentally kill it.
The SCOBY is a creature of comfort, thriving between a cool 65 and a balmy 85 degrees Fahrenheit. So, don't let your eagerness become its downfall. Ensure your freshly brewed tea cools down to SCOBY's preferred temperature before it takes its refreshing plunge into the fermentation jar. It takes consideration, indeed, but one that rewards with the finest kombucha.
Trying to make it sugar-free
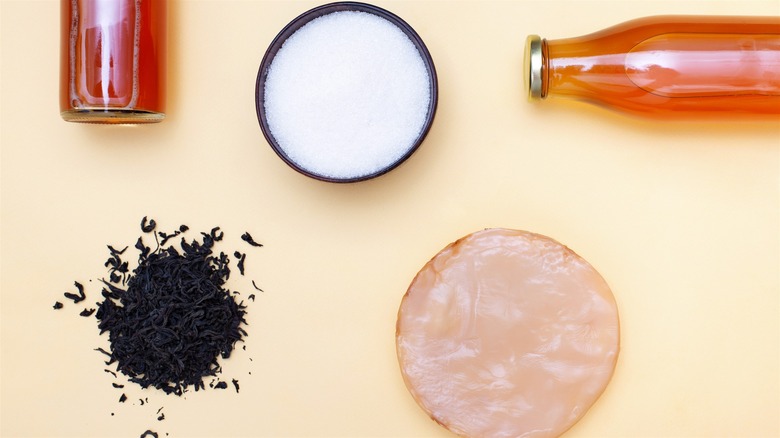
If you've decided to brew kombucha at home for its health benefits — namely, its high probiotic content — then you might have considered taking it one step further and making it sugar-free. But before you place your SCOBY in a batch of plain tea, remember that sugar is a crucial component for brewing kombucha. Starving SCOBY of sugar or trying to feed it noncaloric sweeteners could spell disaster, robbing your brew of its very essence.
But fear not, for there's a compromise. While sugar can't be skipped in the brewing stage, a longer fermentation period allows the voracious yeast to devour all the sugar. The result? A sugar-free tangy kombucha teeming with healthful benefits.
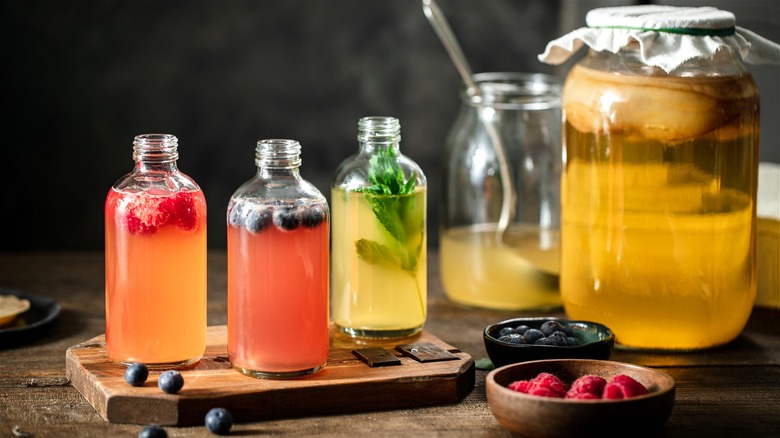
Adding flavors too soon
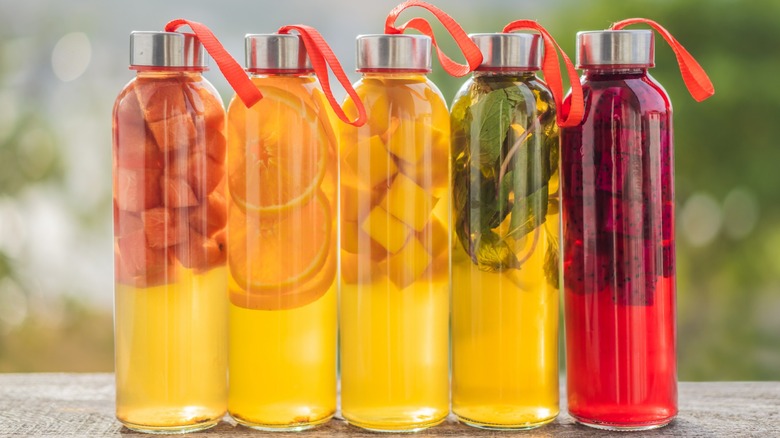
The allure of home-brewed kombucha lies in the limitless flavor profiles you can concoct, from timeless lavender and ginger to exotic blends like pineapple basil. But timing is key. Resist the temptation to introduce flavorings during the first fermentation stage (F1), where sweet tea morphs into a flat kombucha, guided by starter tea and a SCOBY culture.
The best time to add flavor to your kombucha is during the second fermentation (F2). Here, your kombucha, transferred into airtight bottles with a tad of space for gas build-up, is ready to welcome fresh fruit. Securely capped, these bottled infusions will sit patiently in a cool, dark corner for three to 10 days, fermenting into your personalized, effervescent elixir.
Picking the wrong storage location
When brewing your own kombucha, it's important to strike a balance between fermentation location and storage conditions. Key considerations in this tightrope act are temperature (with an optimal range of 75-85 degrees Fahrenheit, 80 being the sweet spot), protection from UV rays, and adequate airflow.
Avoid direct sunlight, which can harm the yeast, as well as damp areas that can cause mold growth. Keep it far from household chemicals, plants, and other ferments. And remember, kombucha is an aerobic ferment; it needs oxygen to thrive, so don't seal it away in a cupboard during F1. Get ready to experiment with your brewing location across the initial few batches to strike the perfect balance.
Failing to keep temperature consistent

Temperature is another crucial variable in the fermentation process. Chilly conditions can slow it down, yielding a gentler, sugary brew but also upping the mold risk. Overly warm environments, however, might harm the vital microflora, leading to a potent, vinegary flavor. Learn the optimal temperature ranges and consider how you will maintain them.
Depending on your local climate, you might need to play hide-and-seek with your brew. For balmy regions, tucked-away spots like shadowy cabinets or subterranean cellars work best, but you'll need to taste-test frequently. In nippier areas, go for cozy nooks near heaters, atop refrigerators, or within laundry rooms. If temperature regulation proves tricky, consider using a heat mat for a consistently warm environment.
Cutting airflow during early fermentation
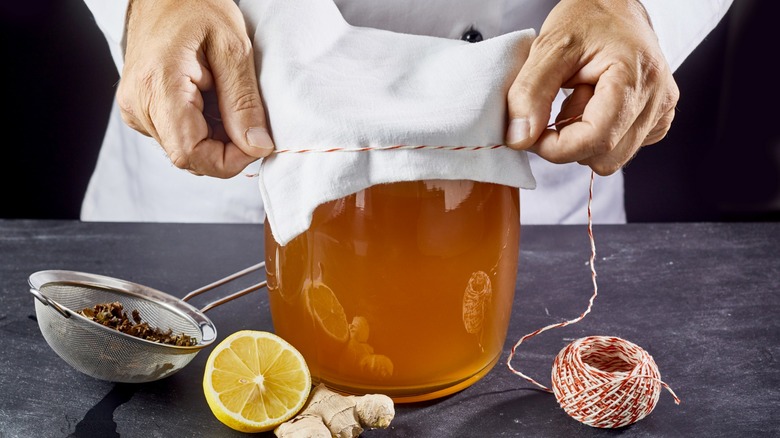
If you're new to fermentation, your initial instinct might be to tightly close the lid on the jar to prevent any unwanted contaminants from entering. However, this approach actually hinders the fermentation process.
Initially, your concoction needs a breath of fresh air so that the SCOBY can carry out its sugar feast successfully, transforming it into alcohol and carbon dioxide. Cover the jar with a clean tea towel instead of cheesecloth, and secure it with rubber bands — a simple trick to keep pest out while letting oxygen in. After a week or so, stage two commences. Here, alcohol is morphed into acids, carbonation begins, and a tight seal is vital to maintain the fizz.
Not keeping an eye on it

Kombucha preparation time varies depending on your brewing conditions, so you might have to adjust accordingly instead of blindly following the recipe. Once you've found the right spot to ferment it, don't just leave it there — keep your SCOBY company with occasional taste tests. It's all about observing, taking notes of the flavors and aromas, and adjusting.
Every now and then, exercise straw testing. If it's still too sweet around day 6, it's not finished with its sugar-to-alcohol magic. By day 9, you should sense a hint of that crisp, sparkling cider taste. Beyond day 10, the vinegar kick comes in strong. Remember to seal it back tight after every taste test and let the brew do its thing.
Getting creative with ratios

Venturing into the world of home fermentation may feel like navigating a labyrinth with its multitude of variables. But fear not — while every kombucha batch has its unique quirks, a careful approach can guide you through.
Before you plunge in, familiarize yourself with the recipe; soak in every step, every ingredient. Your key tools? A kitchen scale and measuring cups for precision. Measured ingredients are the lifeblood of a successful fermentation start. Adhere strictly to the recipe's choreography, from ingredient sequences to specific timings and temperatures. If doubts creep in, your chosen kombucha recipe is your lifeline. And if you stick to the script during the two stages, you'll be rewarded with a flavorful, fizzy brew.
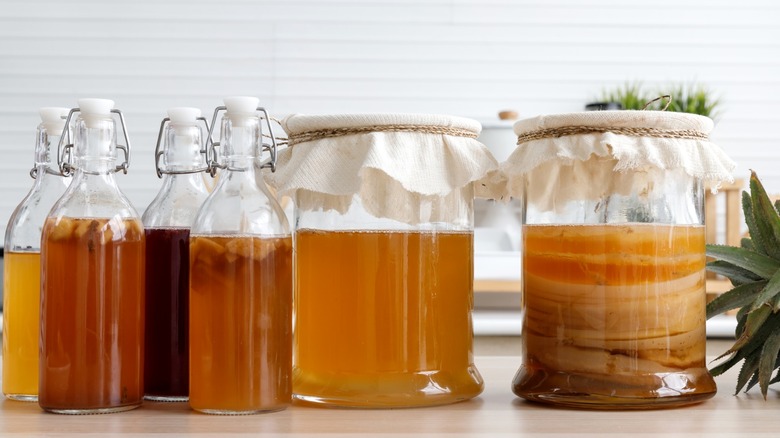
Skipping secondary fermentation
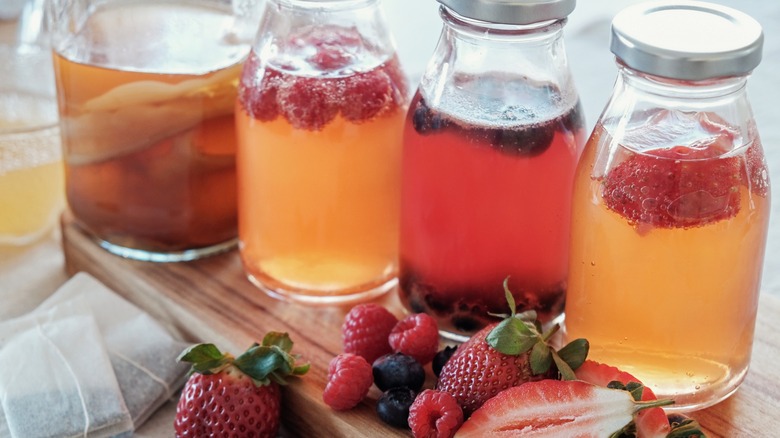
If you think of kombucha brewing as a two-act Broadway play, then drinking the raw, flat concoction you get after the first ferment would be like leaving during intermission. Nothing wrong with it, but you're missing the invigorating finale that happens after the second ferment.
After a week or so, the SCOBY is removed, the fruits are mixed in, and a tad more sugar can be added to give yeast and bacteria more to work with, resulting in a richer carbonation. This second act, lasting anywhere from 2 to 14 days, lets the flavors truly mesh, resulting in a smooth, naturally carbonated drink that dances on your tongue. Just make sure to use airtight flip-top bottles to capture that effervescence.
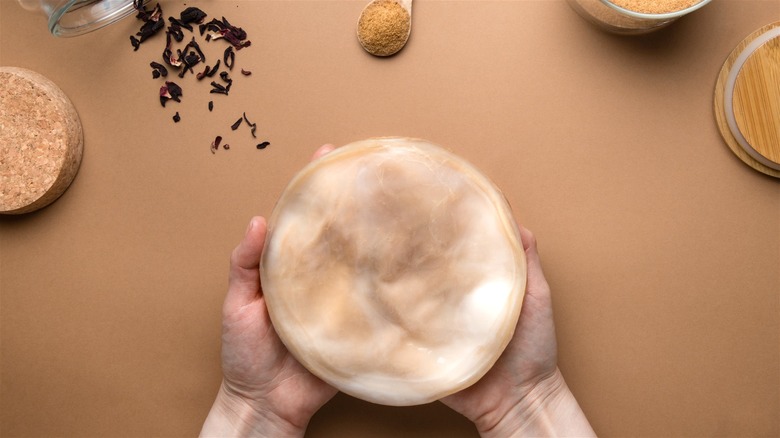
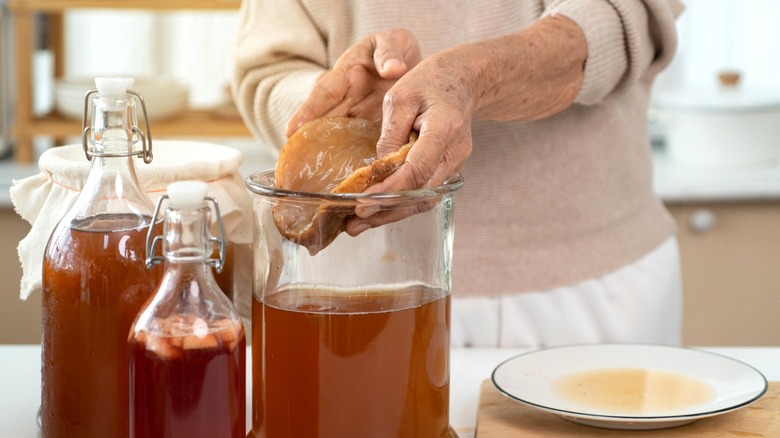
Removing SCOBY strands
You might think that kombucha's main character, SCOBY, is just that smooth skin-colored jelly blob, and any other solids floating in the jar are something alien and potentially harmful. In truth, it's only mold that you should worry about. Those brown strings that you may see attached to your SCOBY are natural, healthy, and harmless developments of the yeasts in your brew.
Also known as SCOBY strands, these yeast communities tend to gather at the bottom of the jar once they've played their part in the fermentation process. Instead of tossing them, use them up for your upcoming batch. It will give your kombucha a yeast supercharge and kick the carbonation level up a notch.
Not stirring kombucha before bottling
Yearning for consistent carbonation? Stirring might be your secret ingredient. After an impressive performance in the first ferment, the yeasts take a bow and sink to the bottom of the brewing container. Give them a standing ovation, or better yet, a thorough stir between removing the SCOBY and bottling your brew.
Without stirring, some bottles, filled from the top of the brewing jar, may end up flat. In contrast, having collected all the yeast from the bottom, others may be excessively carbonated. The more yeast there is, the more sugar is transformed into carbon dioxide, so take the time to stir the stars of your brew and enjoy the fizz in every bottle.
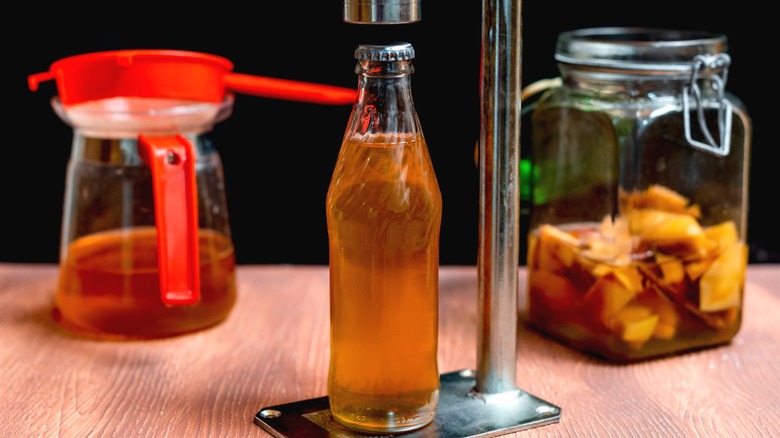
Picking the wrong vessel for carbonated kombucha

When it comes to bottling kombucha, not all vessels are created equal. Steer clear of decorative bottles and used beer containers — they lack the strength to withstand the pressure of that second fermentation. Square bottles? Forget about it; they're no match for carbon dioxide's might. Your safest bets are sturdy, food-grade glass bottles — think flip-top Grolsch-style or repurposed commercial kombucha bottles.
The cap plays a starring role, too, trapping in the fizz, so opt for F217 caps with a lining. And remember, leave about a quartet of fingers' worth of headspace at the top when bottling. An exploding kombucha bottle makes for a memorable tale, but it's a lesson best learned vicariously!
Ignoring the alcohol content

While this fermented fad may masquerade as a soft drink, homebrews can pack a punch, boasting an alcohol content of up to 3% — a stark contrast to commercial brews that hover around a sober 0.5%. Those who don't drink or are underage, tread carefully. If you're not trying to brew a hard kombucha, keep a close eye on your concoction.
Commercial brewers have the advantage of specialized SCOBYs that keep the alcohol content low — a feat harder to achieve at home. But don't despair! Lowering the sugar content, carrying out your second fermentation in the fridge, or sourcing a low-alcohol-producing SCOBY could be your ticket to a less boozy brew.
Discarding what could be fixed
If your brew seems too sweet, too vinegary, or too cloudy; these are but hurdles to leap, not reasons to abandon ship. That cloudy top layer? It's your SCOBY, the "mother" of kombucha, flourishing and multiplying. She's healthy in all her forms, colors, and sizes, bubbles and holes notwithstanding. As long as mold hasn't crashed the party, she's doing just fine.
Now, onto taste: A saccharine brew simply needs more time to ferment, whereas an overly-acidic one can be sweetened, diluted, or transformed into a tangy marinade. Alternatively, keep it fermenting until it becomes vinegar. Lastly, a high pH can be tamed with a dash of white vinegar or a splash of mature kombucha.
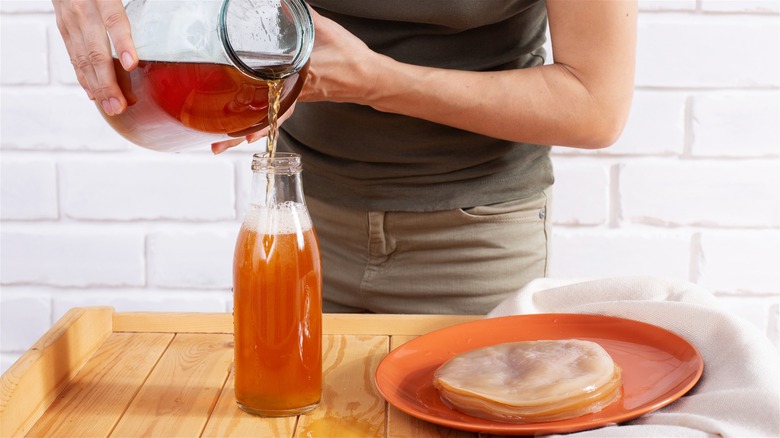
Not following the transfer procedure
As you finish your inaugural brew and eagerly prepare for the next, remember that kombucha brewing follows a certain protocol from start to finish. First, you'll need to reserve about two cups of liquid after the first ferment to use it as your starter tea.
Resist the temptation to rinse your SCOBY between batches — it's a living, breathing entity that thrives on the microbes you risk washing away. A simple transfer from one batch to another is all it needs. Just remember, when handling your SCOBY, cleanliness is everything. Lastly, don't expose it to the cold realm of your fridge unless you fancy a few rounds of off-flavored kombucha as it stirs from its slumber.
Failing to recognize mold
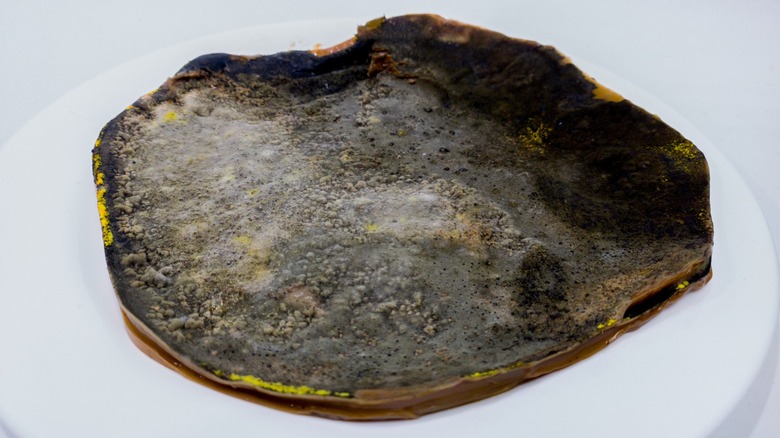
Kombucha mold may be rare and easily preventable, but it still happens to the best of us. With their inherently unconventional aesthetics, featuring bubbles, lumps, and spots, SCOBYs can beguile even experienced brewers into mistaking mold for harmless quirks. Mold, however, struts its stuff with vibrant white-green, black, blue, or red circles, preferring the oxygen-rich surface over being submerged. And more often than not, it sports some fuzz.
If you're positive your kombucha has grown mold, it's time to bid adieu. Dispose of the entire content, cultures and all, to ensure no remnants of the unwelcome guest linger. Sterilize whatever remains by treating it to a 30-second bleach bath, then give a good rinse.
Letting fruit flies take over
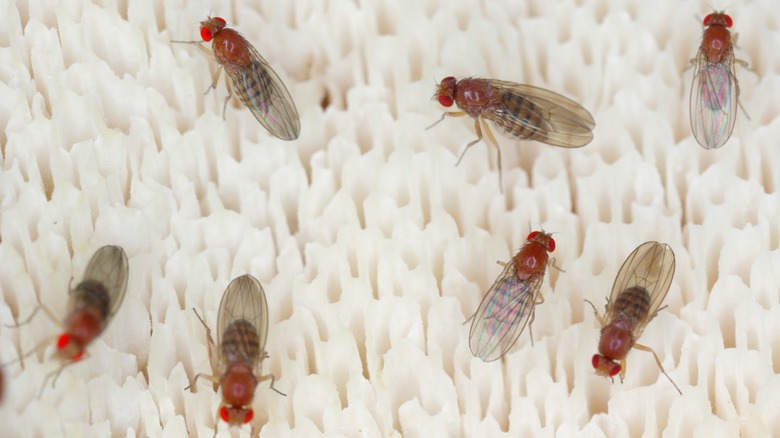
If you love the sweet nectar of your homebrew, you're not alone. Fruit flies are also big fans. They're not after your brew per se, but the acetic acid it produces. Spot one? Act fast, or you might end up sipping their offspring. An infestation spells doom for your current batch, and while some brave souls might suggest salvaging the non-contaminated SCOBY layers, it's a risk not worth taking.
Instead, defend your fermenting masterpiece with a fortress of tightly woven cloth, cinched snugly with a rubber band. If cheesecloth is your chosen guard, double or triple it up. After all, your SCOBY has been toiling away — don't let its efforts go to waste.
Not upcycling SCOBY
Picture this: your homebrew kombucha operation is thriving, spawning SCOBY after SCOBY. Now, you could start a hotel, but why not explore the culinary potential of this amorphous probiotic powerhouse? Sure, its raw form is a tad gooey, and it bears a striking resemblance to kombucha in flavor. But slice it thin, and you've got a vegan substitute for octopus — perfect for sushi rolls or okonomiyaki. Want something sweet? Transform it into gut-boosting energy balls, candy, or incorporate it into fruit popsicles. Smoothies, too, can benefit from its healthful addition. Or, dehydrate it, and voila — vegan jerky! The humble SCOBY deserves so much more than the compost bin, so don't be afraid to experiment with it beyond the brew.